Install And Migrations
- Installation
- Help
- Learning Cmfive
- Introduction
- Creating A Config
- The Models Folder
- Install And Migrations
- Creating Index Action
- Creating Index Template
- Creating Item Action
- Add Item Table
- Edit Item Button
- Additional Configuration
Install And Migrations
Install Folder and Migration Files
The Install folder holds the scripts required for all installation needs of the module. These may be database migrations, database seeds, report sql files, templates, and others.
Migrations are used to make changes to the database structure (i.e. tables). Migration files are generated through the UI and are timestamped (the year, month, day, and time to the second. It will look something like 20210721022033) to ensure they run in the correct order. These timestamps allow us to rollback and run migrations in order as needed.
public function up()
The ‘up’ function where we define the changes we would like to make.
public function down()
The ‘down’ function restores the database to it’s previous state. This function is called when rolling back migrations. It is important that any change made in the ‘up’ function is reversed in the ‘down’ function.
public function preText()
The ‘preText’ function is used to notify administrators of any requirements needed before the running of the migration. eg, if a migration requires a new composer php library to be installed the preTest can inform the user and prevent the migration from running until such requirements are met.
This function can run checks and conditionally return either a message string allowing the user to pause the migration or return null allowing the migration to run. If there are no requirements for the migration this function can be left as is.
public function postText()
Like the ‘preText function, the ‘postText’ function can be used to display a message to the admin user running the migration. This could include results from testing that the migration ran successfully or to provide instructions for requirements that need to be implemented after the migration.
public function description()
This function should return either a string or null. The description is displayed on the migrations page in cmfive.
Let’s add a migration to our example module.
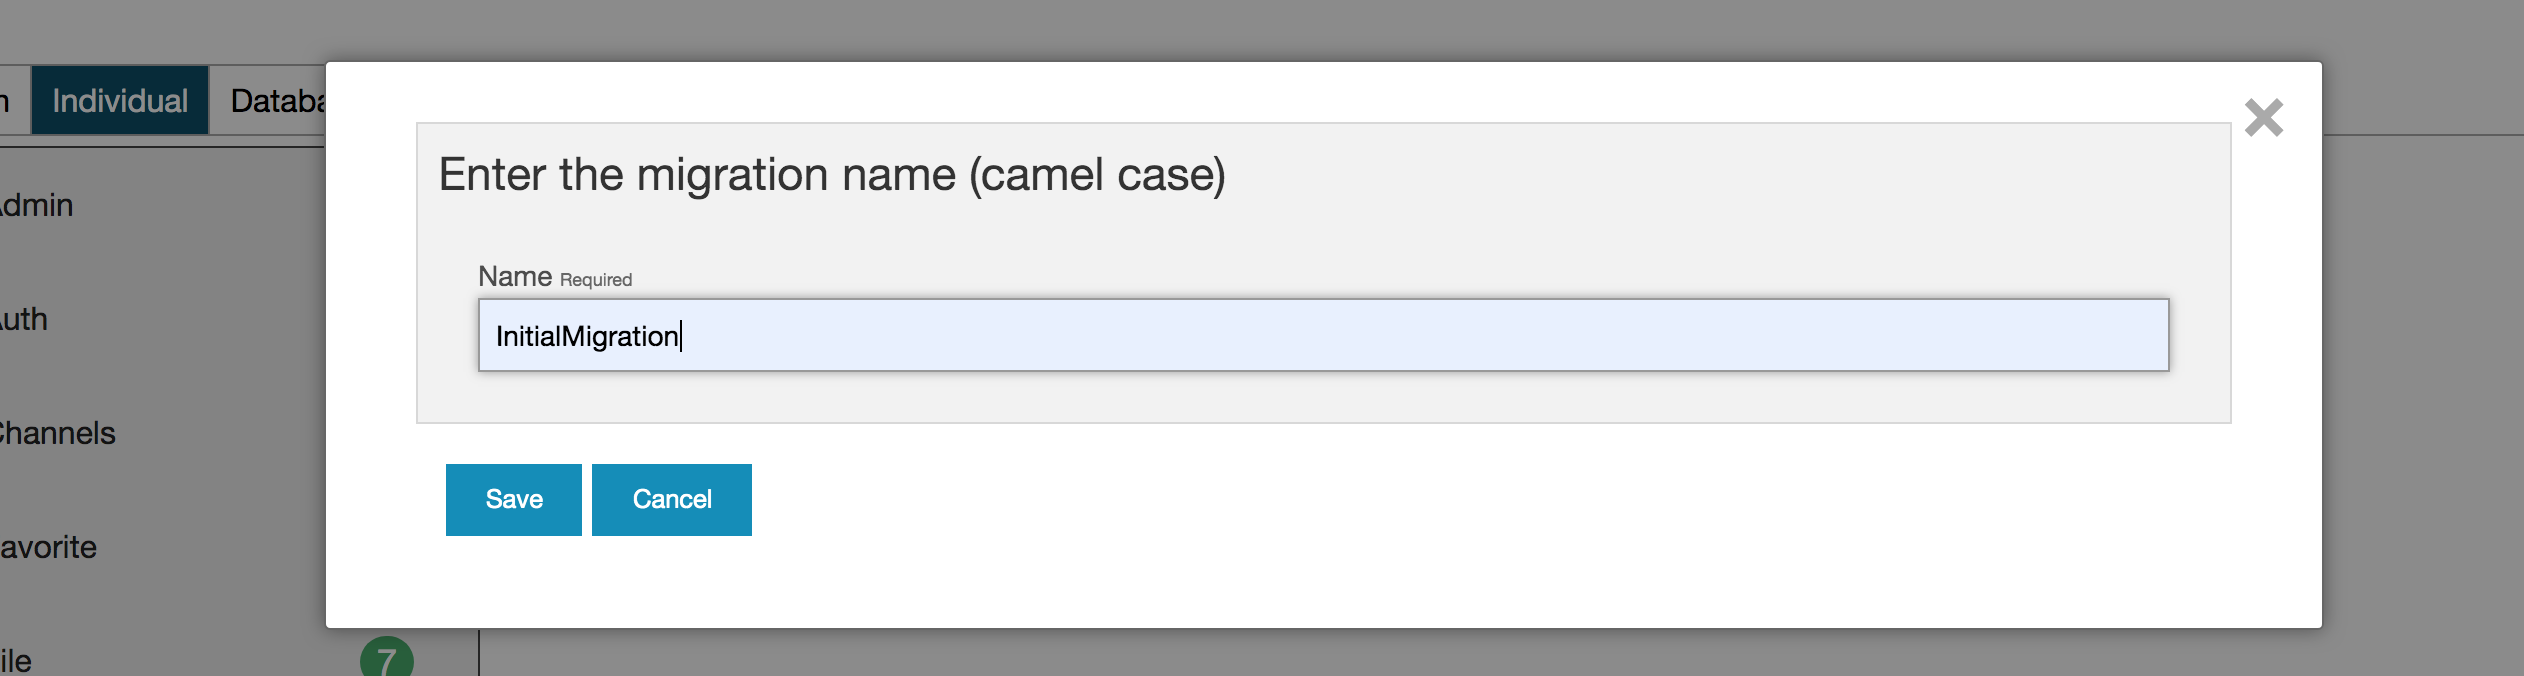
Start by navigating to the migration page in Cmfive. You can find this under the Admin menu item. Once you are on the migrations page move to the ‘individual’ tab to view migrations sorted by module.
Scroll down the list and select our ‘Example’ module.
Click the ‘Create an example migration’ button at the top of the module list. Call it ‘InitialMigration’.
Your module folder will now contain an install folder with a migrations folder and the the newly created migration php file. This file will have a timestamp in it’s name followed by ‘-ExampleInitialMigration.php’.
Let’s use the migration to add a database table for our module by editing the up function.
public function up()
{
    // UP
    $column = parent::Column();
    $column->setName('id')
        ->setType('biginteger')
        ->setIdentity(true);
}
The function already contains some code. This is the definition for the id column that each table will need. Let’s now define a table for an example item that we want to store data against.
public function up()
{
    // UP
    $column = parent::Column();
    $column->setName('id')
        ->setType('biginteger')
        ->setIdentity(true);

    if (!$this->hasTable("example_item")) { //it can be helpful to check that the table name is not used
        $this->table("example_item", [ // table names should be appended with 'ModuleName_'
                "id" => false,
                "primary_key" => "id"
            ])->addColumn($column) // add the id column
            ->addStringColumn('name')
            ->addBooleanColumn('is_checked') //boolean columns need to be appended with 'is_'
            ->addDateTimeColumn('dt_started') // Datetime columns need to be appended with 'dt_'
            ->addIntegerColumn('my_integer')
            ->addCmfiveParameters() // this function adds some standard columns used in cmfive. dt_created, dt_modified, creator_id, modifier_id, and is_deleted.
            ->create();
    }
}
It is important to ensure that your migration undoes any database changes in the down function. In this case we have created a table in our up function so we will remove it in our down function.
public function down()
{
    // DOWN
    $this->hasTable('example_item') ? $this->dropTable('example_item') : null;
}
Now that we have created our migration we can run it using the Cmfive UI.
In the browser, navigate to the Cmfive migrations page, view by individual modules, find the example module and click either ‘run all example migrations’ or ‘migrate to here’ on our migration.
After running the migration we can verify that the table was created in the database.
To roll back we can click ‘rollback to here’ next to our migration. This will run the down function and the table will be removed.
Make sure the migration is run and we can now look at creating our item model and our module service class.